

Your garage floor takes a beating. Oil stains, tyre marks, and cracked concrete make the space look worn and uninviting. A DIY epoxy coating transforms this tired surface into a durable, attractive floor that withstands heavy use while boosting your home’s appeal. This guide walks Queensland homeowners through every step of the epoxy application process, from surface preparation to final sealing, ensuring you achieve professional results without the professional price tag.
Table of Contents
- Prepare Your Garage Floor For Epoxy
- Gather Necessary Tools And Materials
- Apply The Epoxy Coating Step By Step
- Maintain Your Epoxy Garage Floor For Longevity
- Explore Professional Epoxy Floor Coating Services
Key takeaways
| Point | Details |
|---|---|
| Surface preparation determines success | Thorough cleaning, crack repair, and concrete etching create the foundation for strong epoxy adhesion |
| Quality materials matter | Investing in garage-grade epoxy kits and proper tools ensures a durable, long-lasting finish |
| Application timing is critical | Respecting drying times between coats and curing periods prevents coating failures |
| Regular maintenance extends lifespan | Simple cleaning routines and prompt spill removal keep epoxy floors looking fresh for years |
Prepare your garage floor for epoxy
Surface preparation makes or breaks your epoxy project. Proper surface preparation is essential for coating adhesion and longevity. Start by removing everything from your garage, including stored items, vehicles, and loose debris. This gives you a clear workspace and prevents contamination during application.
Cleaning comes next. Sweep thoroughly, then apply a commercial degreaser to remove oil stains, tyre marks, and chemical residues. Scrub stubborn spots with a stiff brush and rinse completely. Oil contamination is the primary reason epoxy fails to bond, so spend extra time on heavily soiled areas. Let the floor dry completely, which typically takes 24 to 48 hours depending on Queensland’s humidity levels.
Cracks and holes need attention before coating. Use a concrete patching compound for gaps wider than 3mm. For hairline cracks, a flexible epoxy filler works best. Apply the filler slightly proud of the surface, then grind it flush once cured. This creates a smooth base that prevents the epoxy from pooling in depressions.

The final preparation step involves creating surface texture. You have two options: mechanical grinding or acid etching. Grinding with a diamond cup wheel opens the concrete pores and removes any existing sealers. Acid etching uses a muriatic acid solution to chemically roughen the surface. Both methods work, but grinding provides more consistent results and better suits epoxy floor coatings that demand strong mechanical bonding.
Pro Tip: Test concrete moisture levels before coating by taping a plastic sheet to the floor overnight. If condensation appears underneath, wait longer for the slab to dry or address underlying moisture issues that could compromise adhesion.
- Remove all items and sweep thoroughly
- Apply degreaser and scrub oil stains completely
- Fill cracks and holes with appropriate compounds
- Grind or etch the surface to create texture
- Allow 48 hours minimum drying time before coating
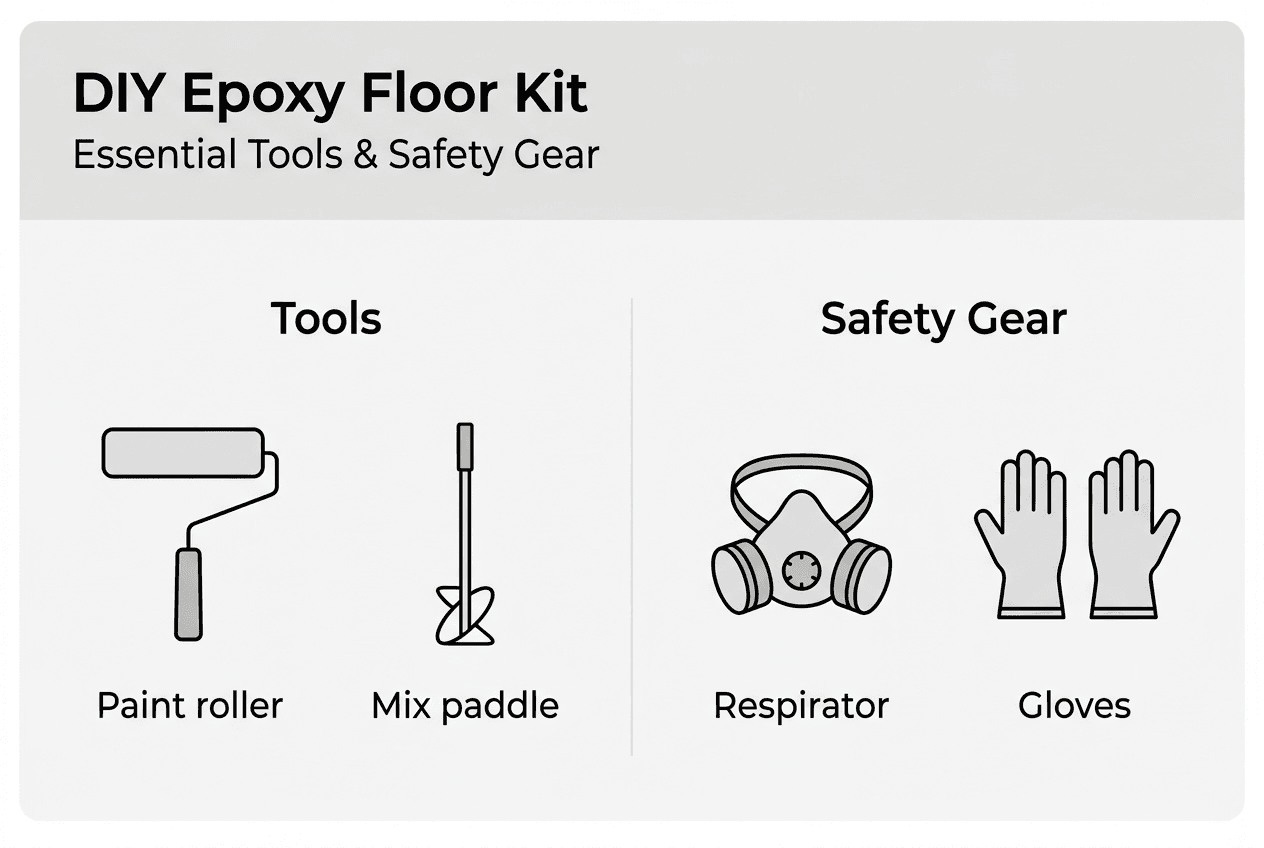
Gather necessary tools and materials
Having everything ready before you start prevents mid-project delays and ensures smooth application. Your shopping list begins with the epoxy itself. Choose a two-part garage floor epoxy kit rated for vehicular traffic. These kits include resin, hardener, and often decorative flakes. Calculate coverage based on your garage size, then add 10% extra for overlap and waste.
Application tools include paint rollers with 10mm nap sleeves, extension poles, mixing paddles that attach to a power drill, and clean mixing buckets. You’ll also need paintbrushes for edges and corners where rollers can’t reach. A notched squeegee helps spread thick epoxy evenly before rolling.
| Tool category | Specific items needed | Purpose |
|---|---|---|
| Surface prep | Concrete grinder or etching solution, degreaser, stiff brushes, patching compound | Creates proper surface profile for adhesion |
| Application | Two-part epoxy kit, 10mm nap rollers, extension poles, mixing paddle, squeegee | Applies coating smoothly and evenly |
| Safety gear | Chemical-resistant gloves, respirator mask, safety goggles, knee pads | Protects against fumes and skin contact |
| Finishing | Decorative flakes (optional), clear topcoat sealer, spike shoes | Adds texture and enhances durability |
Safety equipment isn’t optional. Epoxy fumes irritate lungs and skin contact causes reactions in some people. Wear a respirator with organic vapour cartridges, not just a dust mask. Chemical-resistant gloves protect your hands during mixing and application. Safety goggles prevent splashes from reaching your eyes.
Optional items enhance your results. Decorative flakes add texture and visual interest while hiding minor imperfections. A clear topcoat sealer increases abrasion resistance and makes cleaning easier. Spike shoes let you walk on wet epoxy to broadcast flakes or fix mistakes without leaving footprints.
Pro Tip: Buy more epoxy than calculations suggest. Running short mid-project forces you to mix a new batch, creating visible lap marks where old and new coats meet. Having extra ensures you can complete each coat in one continuous application.
- Two-part epoxy kit with 10% extra coverage
- Rollers, brushes, mixing tools, and squeegees
- Respirator, gloves, goggles, and protective clothing
- Optional flakes and topcoat for enhanced finish
Apply the epoxy coating step by step
Timing and technique determine whether your floor looks professional or patchy. Start by reading the manufacturer’s instructions completely. Epoxy chemistry varies between brands, and pot life (working time after mixing) ranges from 30 minutes to 2 hours. Understanding your specific product prevents rushed mistakes.
Mix the epoxy components precisely according to package ratios. Pour the entire hardener container into the resin, not partial amounts, to ensure accurate proportions. Attach a mixing paddle to your drill and blend for 3 minutes at low speed. Scrape the bucket sides and bottom, then mix another minute. Improper mixing leaves soft spots that never fully cure.
- Pour a ribbon of mixed epoxy along one wall, starting in a back corner
- Use a notched squeegee to spread the epoxy into a uniform puddle
- Roll the epoxy with a 10mm nap roller using overlapping W-patterns
- Work in 1-metre sections, maintaining a wet edge to prevent lap marks
- Broadcast decorative flakes immediately if desired, while the base coat remains tacky
- Allow the base coat to cure according to package directions, typically 12 to 24 hours
- Apply a clear topcoat sealer using the same rolling technique
- Let the floor cure completely before vehicle traffic, usually 3 to 7 days
Following exact application steps prevents common coating failures like bubbling, peeling, or uneven thickness. Temperature affects curing speed and final hardness. Queensland’s climate is generally ideal, but avoid coating during extreme heat above 35°C or when overnight temperatures drop below 10°C. These conditions cause improper curing that weakens the finished floor.
“The key to professional results lies in maintaining a wet edge and working systematically across the floor. Rush the process and you’ll see every mistake. Take your time and the epoxy self-levels beautifully.”
Pro Tip: Have a second person help with flake broadcasting. One person rolls while the other follows immediately behind, tossing flakes into the wet epoxy. This coordination ensures even coverage before the coating begins to set.
Maintain your epoxy garage floor for longevity
Your new floor needs simple but consistent care to stay attractive and functional. Regular maintenance keeps epoxy floors looking fresh and prevents premature wear. Daily or weekly sweeping removes abrasive dirt particles that gradually dull the glossy finish. Use a soft-bristle broom or a vacuum with a soft floor attachment.
Spills happen in garages. Battery acid, antifreeze, and oil can stain or damage epoxy if left sitting. Wipe up spills immediately with paper towels, then clean the area with warm water and a mild pH-neutral detergent. Avoid ammonia-based cleaners or citrus degreasers, which can break down the epoxy bond over time.
Deep cleaning every few months keeps the floor pristine. Mix a gentle floor cleaner with warm water and mop the entire surface. Rinse with clean water to remove soap residue that makes floors slippery. For stubborn marks, use a soft scrub pad, never steel wool or abrasive powders that scratch the coating.
High-traffic areas might show wear after several years. A fresh coat of clear epoxy sealer restores gloss and adds another protective layer without requiring complete recoating. This maintenance coat takes just a few hours to apply and extends your floor’s lifespan significantly.
- Sweep or vacuum weekly to remove abrasive particles
- Clean spills immediately with mild detergent and water
- Avoid harsh chemicals that degrade epoxy bonds
- Apply a maintenance sealer coat every 3 to 5 years in heavy-use areas
- Inspect regularly for chips or damage and repair promptly
Protect your investment by placing rubber mats under workbenches or heavy equipment. These distribute weight and prevent point loads from cracking the epoxy. Similarly, avoid dragging metal objects directly across the floor. Lift and carry, or use furniture sliders to prevent scratches that compromise the coating’s integrity.
Explore professional epoxy floor coating services
Whilst DIY epoxy delivers impressive results, some homeowners prefer professional installation for guaranteed outcomes and premium finishes. Floor X Industries offers expert epoxy floor coatings throughout Queensland, handling every aspect from surface preparation to final sealing. Their experienced team ensures flawless application that maximises durability and visual appeal.

Professional services shine when you want decorative options beyond basic DIY kits. The Hyper Flake Stone Range creates stunning textured finishes with superior slip resistance and unique aesthetics. These advanced systems require specialised equipment and techniques that deliver results difficult to achieve independently. For homeowners seeking the ultimate garage transformation, epoxy flooring Gold Coast specialists provide consultation, material selection, and installation backed by warranties and proven expertise.
FAQ
How long does DIY garage floor epoxy last?
With proper preparation and maintenance, epoxy floors typically last 10 to 15 years in residential garages. Factors affecting longevity include surface preparation quality, coating thickness, and exposure to chemicals or heavy vehicles. Regular cleaning and prompt spill removal maximise lifespan. High-traffic areas may need a maintenance topcoat after 5 to 7 years to restore gloss and protection.
Can you apply epoxy over existing paint or coatings?
Epoxy bonds best to bare concrete, so coating over paint rarely succeeds long-term. If you must coat over existing paint, sand the surface thoroughly to create texture, then test a small area for adhesion. Most professionals recommend removing old coatings completely through grinding. This extra effort prevents delamination where the new epoxy pulls away with the old paint underneath.
Is DIY epoxy garage flooring cost-effective?
DIY epoxy saves substantially on professional labour costs, typically reducing total project expense by 50% to 70%. Material costs for a standard two-car garage range from $400 to $800 depending on epoxy quality and decorative options. Professional installation costs considerably more but includes warranties and guaranteed results. For cost estimates tailored to your specific project, explore the epoxy flooring cost calculator Gold Coast to compare DIY versus professional pricing.
What temperature is best for applying garage epoxy?
Ideal application temperature ranges from 15°C to 30°C with moderate humidity. Queensland’s climate generally suits epoxy application year-round, but avoid extreme heat above 35°C which causes rapid curing and application difficulties. Cold temperatures below 10°C slow curing dramatically and may prevent proper hardening. Check your specific product’s temperature requirements, as formulations vary between manufacturers.
Do epoxy garage floors need ventilation during application?
Yes, adequate ventilation is essential during mixing and application. Epoxy releases volatile organic compounds that irritate lungs and cause headaches in enclosed spaces. Open all garage doors and windows, use fans to create cross-ventilation, and wear a respirator with organic vapour cartridges. Continue ventilating for 24 hours after application until fumes dissipate completely. Poor ventilation creates health risks and may affect curing quality.
Recommended
- Epoxy Floor Coatings – Floor X Industries
- Epoxy Flooring Gold Coast | Industrial & Commercial Specialists
- Epoxy Flooring Gold Coast | Industrial & Commercial Specialists
- Epoxy Flooring Gold Coast | Industrial & Commercial Specialists
- Chemical floor polishing: Dubai villa guide 2026
- Come progettare chiusure garage sicure nel 2026


