

TL;DR:
- Proper surface preparation and expert installation are key for long-lasting epoxy floors.
- DIY epoxy installations often fail due to inadequate surface prep and incorrect mixing.
- Regular maintenance with pH-neutral cleaners and timely re-coating extends epoxy floor lifespan.
Poorly installed epoxy floors are more than an eyesore. They peel, crack, and trap moisture beneath the surface, turning what should be a decade-long investment into a costly repair job within two years. For homeowners and facility managers across Queensland, the difference between a floor that lasts and one that fails almost always comes down to how it was installed, not which product was used. This guide walks you through the professional methods, tools, and maintenance practices that separate a floor worth having from one that disappoints. Whether you’re planning a garage, warehouse, or retail space, the information here will help you make the right decisions from the start.
Table of Contents
- Why choose professional epoxy floor installation?
- What you need: Tools, materials, and surface prep essentials
- Step-by-step: The professional epoxy floor installation process
- Caring for your new epoxy floor: Maintenance, recoating, and warranty tips
- The real secret: Why most floors disappoint and how the pros get it right
- Transform your space with true professional results
- Frequently asked questions
Key Takeaways
| Point | Details |
|---|---|
| Professional strength | Expert installation ensures your epoxy floor achieves compressive strength up to 14,000 psi for lasting durability. |
| Flawless preparation matters | Correct surface prep and mix ratios are critical to avoiding early floor failure. |
| Maintenance extends life | Regular recoating and using pH-neutral cleaners can double the lifespan of your floor. |
| Warranty protection | Professional installation and care protects your warranty and investment. |
Why choose professional epoxy floor installation?
Epoxy flooring looks deceptively simple. Pour it, roll it, let it cure. But the reality is far more technical, and that gap between perception and practice is exactly where DIY projects fall apart. Professional installers bring calibrated equipment, verified mix ratios, and years of hands-on experience that simply cannot be replicated from a YouTube tutorial.
One of the most critical factors is surface adhesion. Epoxy resin and hardener form a crosslinked polymer network capable of reaching compressive strengths between 10,000 and 14,000 psi, but only when bonded to a concrete surface prepared to a Concrete Surface Profile (CSP) of 2 to 6. CSP is a standardised measure of surface texture. Too smooth, and the epoxy won’t grip. Too rough, and the coating won’t level properly. Professionals use diamond grinding equipment to hit that precise profile every time.
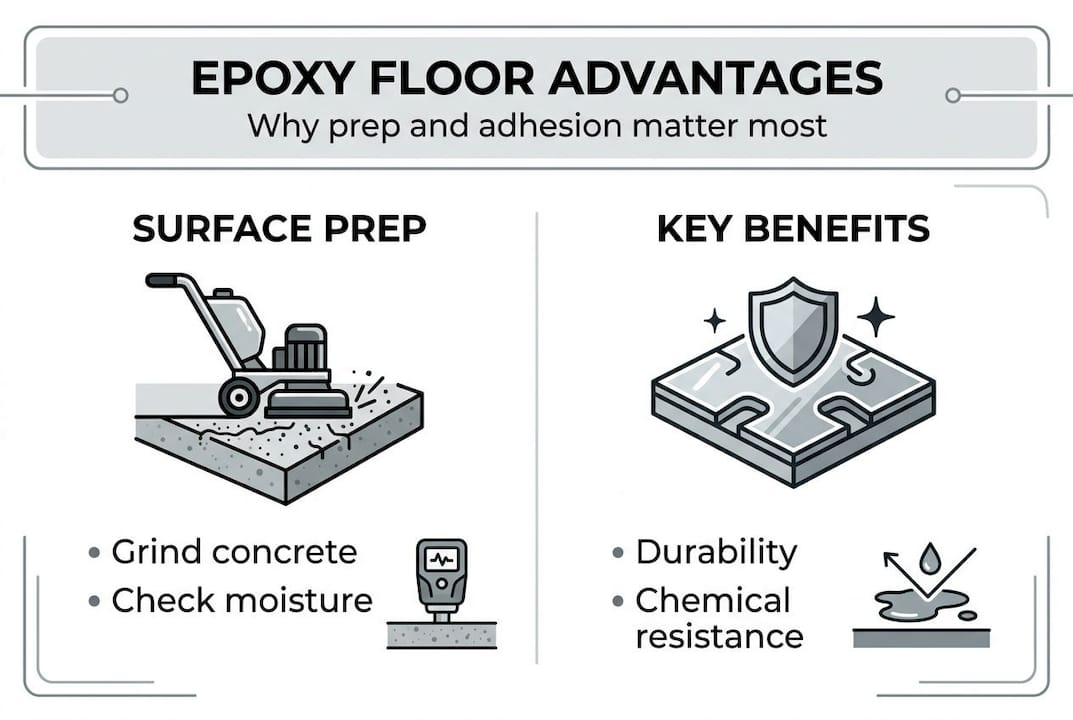
The benefits of epoxy coatings extend well beyond aesthetics. A properly installed floor resists chemical spills, heavy foot traffic, and mechanical loads. It also carries a valid manufacturer’s warranty, which most DIY applications void immediately due to incorrect preparation or mixing.
Here’s a direct comparison of what you can expect:
| Factor | DIY installation | Professional installation |
|---|---|---|
| Surface preparation | Basic cleaning or acid wash | Diamond grinding to CSP 2-6 |
| Mix accuracy | Estimated by eye | Measured by weight or volume |
| Finish quality | Uneven, prone to bubbles | Smooth, consistent, detailed edges |
| Durability | 1-3 years typical | 10-15 years with proper care |
| Warranty | Usually voided | Manufacturer-backed coverage |
Key advantages of choosing a professional installer include:
- Correct epoxy-to-hardener ratios for full chemical cure
- HEPA dust extraction during grinding for a clean, safe environment
- Access to industrial-grade primers that improve bonding on problem slabs
- Decorative options including metallic pigments and broadcast flake
- Compliance with Australian standards for workplace safety and finish quality
Pro Tip: Always ask your installer for a written specification sheet showing the products used, mix ratios, and expected cure times. This document is essential if you ever need to make a warranty claim or plan a recoat.
For ongoing care, following epoxy floor maintenance advice from accredited sources will help you protect the finish long after installation day.
What you need: Tools, materials, and surface prep essentials
Before any epoxy touches your floor, the preparation phase determines everything. Professionals invest heavily in this stage because a flawless finish is impossible on a compromised substrate. Understanding what goes into this phase helps you evaluate quotes and ask the right questions.
Essential tools for professional installation:
- Diamond angle grinders and planetary grinding machines
- Industrial vacuum systems with HEPA filtration
- Squeegees and notched trowels for spreading base coats
- Spiked rollers to release trapped air from the epoxy surface
- Broadcast spreaders for decorative flake application
- Moisture meters to test concrete before priming
Materials required for a complete system:
| Material | Purpose |
|---|---|
| Epoxy resin and hardener | Primary coating and structural layer |
| Penetrating primer | Seals porous concrete, improves adhesion |
| Decorative flake or metallic pigment | Aesthetic finish layer |
| Clear topcoat (polyurethane or polyaspartic) | UV protection and surface durability |
| Crack filler and joint compound | Substrate repair before coating |
The mix ratio and surface profile are the two most critical variables in any installation. Get either wrong and the floor will fail, regardless of product quality. Professionals use calibrated scales to weigh resin and hardener components, eliminating guesswork entirely.
Surface preparation follows a strict sequence. First, the slab is inspected for moisture, cracks, and contamination. Oil stains require chemical degreasers and sometimes shot blasting. Cracks are filled and allowed to cure before grinding begins. Grinding opens the concrete pores and creates the mechanical key the epoxy needs to bond permanently.
For detailed guidance on getting your substrate ready, our surface preparation tips cover everything from moisture testing to profile verification.
“Surface preparation accounts for up to 80% of the success of any epoxy floor installation. The coating itself is only as good as what lies beneath it.”
Safety equipment is non-negotiable:
- Chemical-resistant gloves during mixing and application
- P2 respirators when grinding or applying solvent-based primers
- Safety glasses throughout the entire process
- Non-slip footwear on freshly ground concrete
With the right equipment and preparation in place, you’re ready to follow the installation process with confidence.

Step-by-step: The professional epoxy floor installation process
Professional installation is not a single action. It is a sequence of carefully timed and technically precise steps. Skipping or rushing any one of them compromises the entire system. Here is how we approach every project.
- Inspect and test the slab. Measure moisture content using a calibrated moisture meter. Concrete must read below the product’s specified threshold, typically 75% relative humidity, before any coating is applied.
- Repair cracks and surface defects. Fill all cracks with a two-part epoxy filler. Allow full cure before proceeding. This prevents movement telegraphing through the finished coat.
- Grind and profile the surface. Use diamond grinding equipment to achieve CSP 2 to 6. Remove all laitance, contamination, and weak surface layers. Vacuum thoroughly with HEPA extraction.
- Apply penetrating primer. Roll or squeegee the primer evenly across the prepared slab. This seals porous areas and creates a uniform base for the epoxy coat.
- Mix the epoxy base coat. Weigh or measure resin and hardener to the manufacturer’s exact specification. Incorrect mix ratios reduce strength and durability and will void any warranty. Mix for the full recommended time using a paddle mixer.
- Pour and spread the base coat. Pour the mixed epoxy in ribbons across the floor. Use a squeegee to spread evenly, then back-roll with a spiked roller to release air bubbles and ensure consistent thickness.
- Apply decorative elements. Broadcast flake or metallic pigment into the wet coat at the desired coverage rate. For detailed epoxy application steps including metallic swirl techniques, refer to our application guide. You can also view solid colour epoxy examples for a cleaner, minimalist finish.
- Detail edges and corners. Use a brush to cut in around columns, drains, and wall junctions. These areas are the most likely to show poor workmanship.
- Apply clear topcoat. Once the base coat has cured to the correct tack, apply a polyurethane or polyaspartic topcoat for UV stability and surface hardness.
- Inspect and cure. Allow the specified cure time before foot traffic. Conduct a visual inspection for pinholes, missed areas, or uneven coverage.
Pro Tip: Temperature and humidity affect epoxy cure times significantly. In Queensland’s humid climate, always check the product’s application window and avoid installing during rain events or when relative humidity exceeds 85%.
“Professional installation is not about speed. It is about precision at every stage, from the first grind to the final inspection.”
Caring for your new epoxy floor: Maintenance, recoating, and warranty tips
A professionally installed epoxy floor is built to last, but it still needs the right care to reach its full potential lifespan. The good news is that maintenance is straightforward when you follow a few consistent rules.
Daily and routine maintenance:
- Sweep or dust mop regularly to remove grit that can act as an abrasive
- Clean spills promptly, especially oils, acids, and solvents
- Use only pH-neutral cleaners formulated for epoxy or sealed concrete surfaces
- Avoid steel wool, abrasive scrubbing pads, and harsh chemical degreasers
- Place rubber-backed mats at entry points to reduce tracked-in debris
Regular recoating every 5 to 10 years and consistent use of pH-neutral cleaners are the two most effective strategies for extending floor lifespan. In high-traffic commercial environments, recoating on the shorter end of that cycle is advisable.
Our recoating options cover both full system recoats and topcoat-only refreshes, depending on the condition of your existing floor. For decorative systems, our flake epoxy maintenance guide provides specific advice for broadcast finishes.
Protecting your warranty:
- Never use ammonia-based or bleach-based cleaners on epoxy surfaces
- Avoid dragging heavy metal objects directly across the floor without protective pads
- Do not attempt DIY repairs, including patching or spot recoating, without consulting your installer
- Keep your installation documentation, including product data sheets and warranty certificates
For broader context on what your flooring warranty essentials should cover, reviewing warranty terms before signing off on any installation is a sound practice.
Pro Tip: Schedule an annual walkover inspection of your epoxy floor. Look for areas showing wear, delamination, or discolouration near drains. Catching issues early prevents minor surface wear from becoming a full replacement.
The real secret: Why most floors disappoint and how the pros get it right
After over a decade of installing floors across Queensland, we’ve seen the same pattern repeat itself. A homeowner or facility manager chooses a product based on price, hires the cheapest available labour, and within 18 months the floor is peeling. They blame the epoxy. The epoxy is rarely the problem.
The real issue is almost always preparation. Concrete that wasn’t ground to the correct profile. Moisture that wasn’t tested. A primer that was skipped to save time. These are invisible decisions made during installation that only reveal themselves months later, usually at the worst possible moment.
What separates a professional in the Queensland market is not just access to better products. It is the discipline to do every step correctly, even when no one is watching. It is knowing that a moisture reading of 78% means you stop and wait, not proceed and hope. Our resin flooring insights go deeper into why substrate science matters more than surface aesthetics.
The floors that last are never accidental. They are the result of methodical preparation, precise execution, and honest quality control at every stage.
Transform your space with true professional results
If this guide has shown you anything, it’s that a great epoxy floor starts well before the first drop of resin hits the ground. Every detail matters, from the surface profile to the cure conditions, and getting those details right requires genuine expertise.

At FloorX Industries, we bring over a decade of hands-on experience to every project across Queensland. Whether you’re after epoxy floor coatings for a commercial space, the striking depth of metallic epoxy floor options, or the practical beauty of decorative flake finishes, we tailor every solution to your specific surface, use case, and budget. Contact us today for an expert assessment and a detailed, obligation-free quote.
Frequently asked questions
How long does professional epoxy floor installation take?
A standard residential area such as a garage can typically be installed and ready for light foot traffic within one to two days. Always verify warranty validity before using the space, as some systems require a full 72-hour cure before heavy loads are introduced.
What is the main cause of epoxy floor failure?
Most failures result from improper surface preparation or incorrect mix ratios rather than product quality. Epoxy mix ratio and surface profile are the two most critical variables, and both require professional-grade equipment and experience to execute correctly.
How do I maintain my epoxy floor after installation?
Use only pH-neutral cleaners, avoid abrasive tools, and consider recoating every five to ten years for best results. Consistent pH-neutral cleaning is the single most impactful maintenance habit for preserving both the finish and the warranty.
Does installing epoxy floors impact warranty?
Yes. Using a professional installer preserves your warranty, while DIY work or the use of improper cleaning products can void coverage entirely. Always verify warranty conditions with your installer before making any post-installation modifications or repairs.


